post

Installing TrueNAS Scale on a Terra Master NAS

My 10+ year old Synology NAS failed recently. I tried replacing the power supply and replacing the CMOS battery but it would not come back to life, so I started searching around for a replacement.

I originally intended to buy another Synology NAS, but when I looked over the various models I came to the conclusion that Synology was not keeping up with the competition in terms of hardware. I could get a NAS from a competitor with faster networking, a faster CPU, and more RAM for about half the price. Also, many of the apps that I’d originally used on the Synology NAS were no longer being supported by Synology, and most of the new apps they’d added were Synology-branded apps with unknown provenance and unknown support status, not open-source apps that I could Google a fix for if I had a problem.

After looking at a few brands I picked a low-end 4-drive Terra Master, the F4-424. The F4-424 comes in 3 flavors, the F4-424, F4-424 Pro, and F4-424 Max. The 3 share the same chassis, with main difference between the models being the RAM, CPU, GPU, and NICs being used. I’m mostly using the NAS as backup storage for all of my home computers, plus test storage (Minio, IPFS) for various Kubernetes test clusters, so I didn’t need lots of RAM, a fast CPU, or 10GbE. With the low-end F4-424 I was still getting a 4-core Intel CPU with 8GB DDR5 RAM and 2x 2.5GbE NICs, which is more than adequate for my needs.

I’d read that the Terra Master OS (TOS) wasn’t great, but what sold me on the Terra Master is that it’s basically a low-power Intel PC, so if you want to install some other OS on it, like TrueNAS Scale, openmediavault, or UnRAID, you can. I also read that Terra Master had just released TOS 6, and that it was a huge improvement over previous releases.

I set up the Terra Master with 4x Western Digital 8TB “Red” NAS drives and 2x Western Digital 1TB “Black” NVMe drives. I used TOS 6 for a week, and I thought it was fine. It was actually fairly simple to set up and run, supported using the NVMe drives for R/W cache, supported Time Machine backups, iSCSI, SMB, and NFS. I had no issues with it.

But I wanted to try out TrueNAS Scale so I downloaded a copy of the ISO and burned it to a USB flash drive. The Terra Master has a single USB-A port on the back, so I connected a USB hub and plugged in the flash drive, a keyboard, and a mouse. (There are YouTube videos that say you need to take the NAS apart and install the flash drive in an internal USB slot. You do not need to do this.)

I rebooted the NAS and started hitting the DEL key when it first powered on to get into the BIOS. First I went to the Boot screen and disabled the “UTOS Boot First” setting. This is the setting that tells the NAS to boot TOS 6 from a 3.75GB internal flash drive.

Next I went to the Save & Exit screen and selected my USB drive as the Boot Override device. It booted up my USB flash drive and I followed the TrueNAS Scale install instructions to install TrueNAS Scale on the first NVMe drive. It only took a minute or two.

Once that was done I rebooted again, and started hitting the DEL key when it rebooted to get into the BIOS. This time I went to the Boot screen to change the primary boot device. One of the NVMe disks was now labeled “Debian”. That’s the TrueNAS disk so I selected that, then saved and exited.

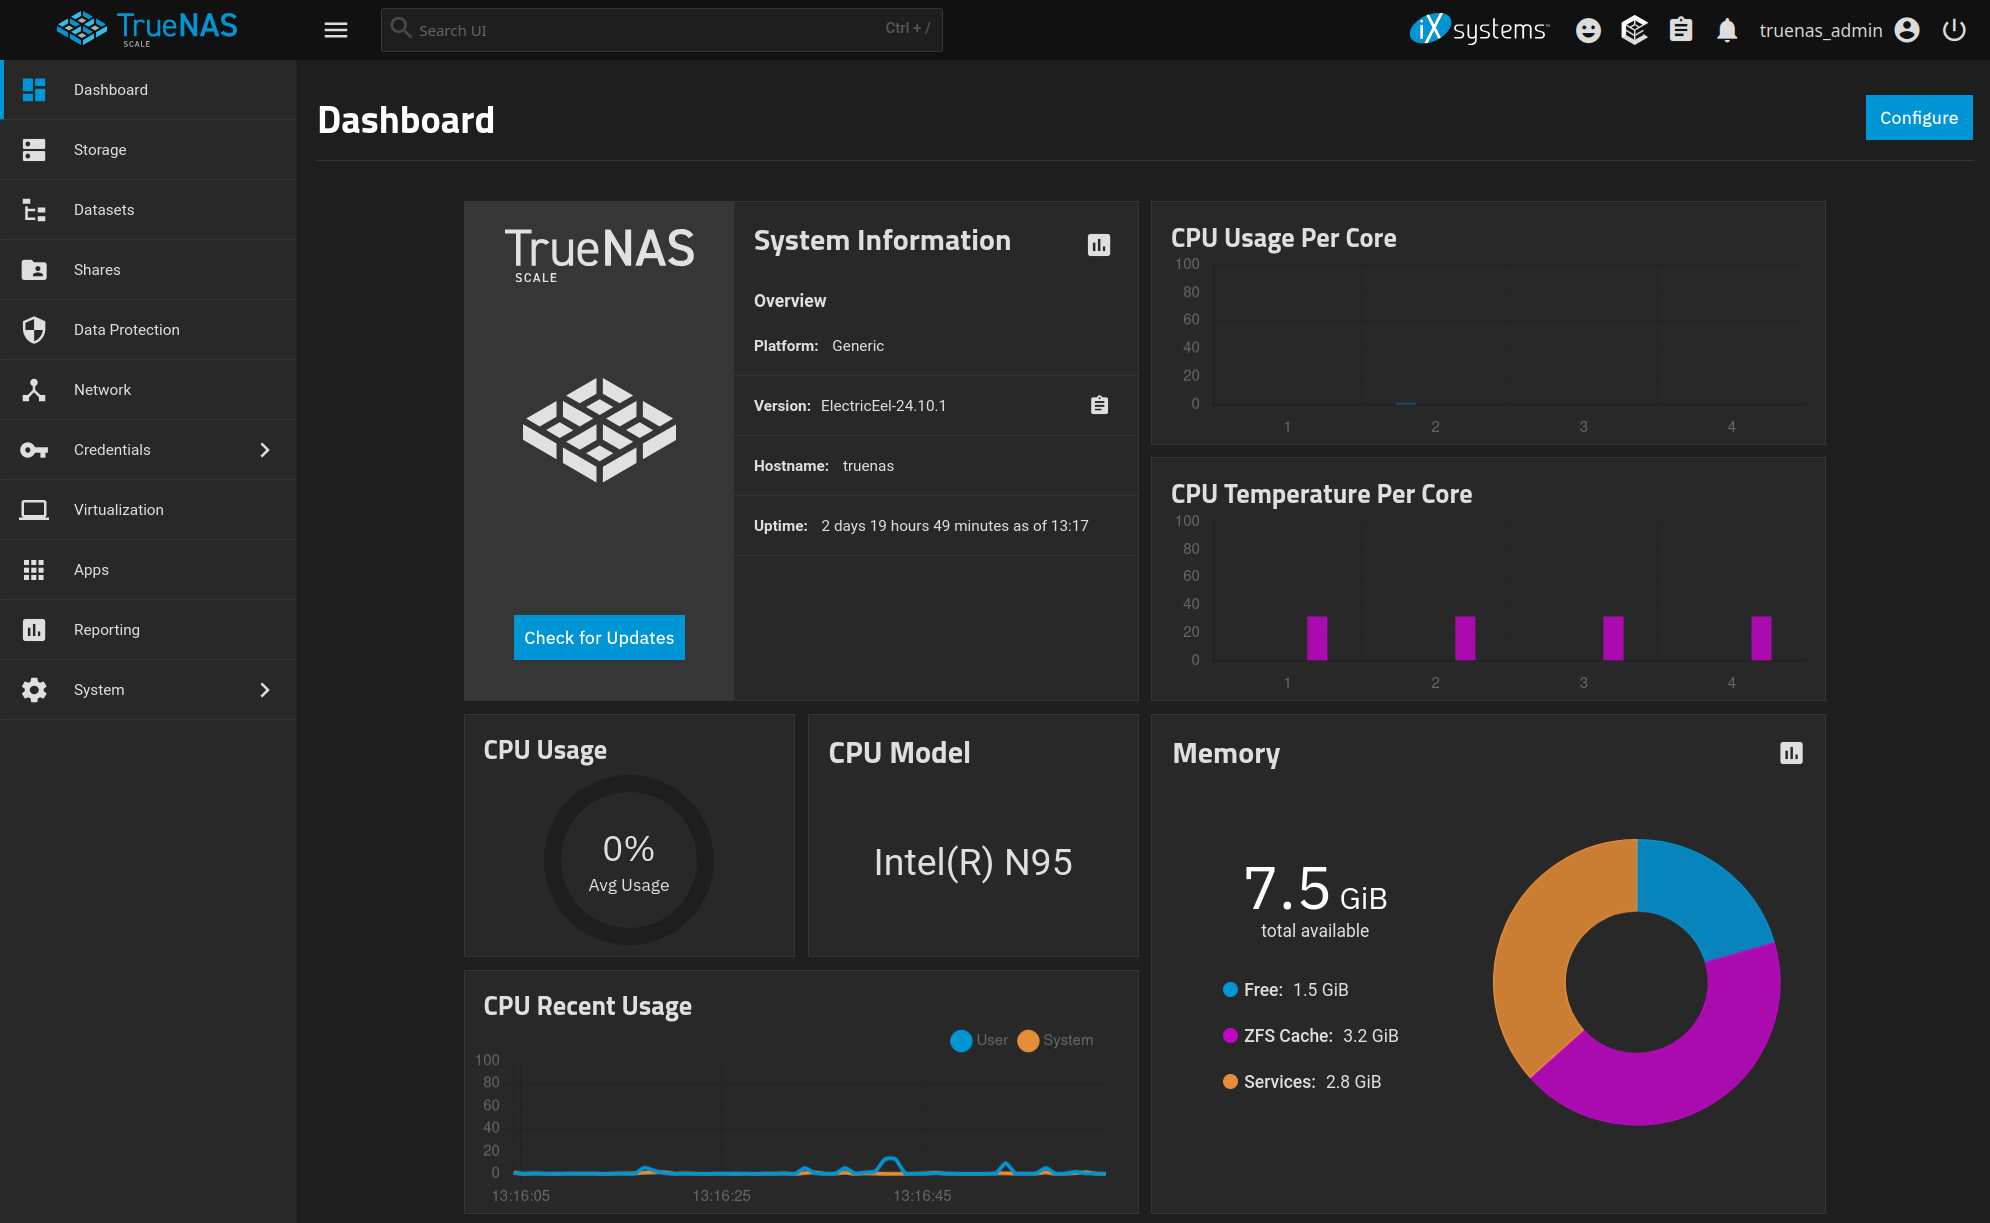
Once the NAS booted up the screen displayed the IP address and URL for logging in, so I went to my laptop and logged into the web UI to finish the setup. I added the 4x 8TB drives to a single RAIDZ1 storage pool and made the remaining 1TB NVMe drive into a R/W cache drive.

If I want to go back to TOS 6 I can re-enable the “UTOS Boot First” setting in BIOS, boot from the TOS6 flash drive, and rebuild the disk array. If I want to use the NVMe drive that TrueNAS is on for something else I can try installing TrueNAS on the TOS 6 flash drive but I’m not convinced that it will fit on a 3.75GB drive. I checked the size of the TrueNAS install and it looks like it might just barely fit.

Hope you find this useful.

post

Adding a LUKS-encrypted iSCSI volume to TrueNAS and Ubuntu 24.04

I have an Ubuntu 24.04 “Noble Numbat” workstation already set up with LUKS full disk encryption, and I have a Terra Master F4-424 NAS with 32TB raw storage that I installed TrueNAS Scale on. Years ago I set up a LUKS-encrypted iSCSI volume on a Synology NAS and used that to back up my main Ubuntu server, and I wanted to do the same thing using TrueNAS.

Create the iSCSI volume on TrueNAS

Log into the TrueNAS Scale Web UI and select System > Services. Make sure that the iSCSI service is running and set to start automatically.

Select Datasets > Add Dataset to create a new storage pool.

  • Add Dataset
    • Parent Path: [I used my main data pool]
    • Name: ibackup
    • Dataset Preset: Generic

Select Shares > Block (iSCSI) Shares Targets > Wizard to create a new iSCSI target.

  • Block Device
    • Name: ibackup
    • Extent Type: Device
    • Device: Create New
    • Pool/Dataset: [select the dataset that you created in the previous step]
    • Size: 3 TiB [How many TiB do you want?]
    • Sharing Platform: Modern OS
    • Target: Create New
  • Portal
    • Portal: Create New
    • Discovery Authentication Method: CHAP
    • Discovery Authentication Group: Create New
    • User: CHAP user name (doesn’t need to be a real user, can be any name)
    • Secret: CHAP user password (make sure you write the user name and password down)
    • IP Address: Click Add. [If you only want one specific IP address to be able to connect, enter it. If you don’t care, use 0.0.0.0]
  • Initiator
    • Initiators: [Leave blank to allow all or enter a list of initiator hostnames]
  • Click Save. You’ve now created an iSCSI volume that you can mount from across your network.

Get the iSCSI volume to appear as a block device on Linux

On your Ubuntu box switch over to a root prompt:

sudo su

Install the open-iscsi drivers. (Since I’m already running LUKS on my Ubuntu box I don’t need to install LUKS.)

apt-get install open-iscsi

Edit the conf file

vi /etc/iscsi/iscsid.conf

Edit these lines:

node.startup = automatic
node.session.auth.username = [CHAP user name on TrueNAS box]
node.session.auth.password = [CHAP password on TrueNAS box]

Restart the open-iscsi service:

systemctl restart open-iscsi
systemctl status open-iscsi

Start open-iscsi at boot time:

systemctl enable open-iscsi

Now find the name of the iSCSI target on the TrueNAS box:

iscsiadm -m discovery -t st -p $NAS_IP
iscsiadm -m node

The target name should look something like “iqn.2005-10.org.freenas.ctl:ibackup”

Still on the Ubuntu workstation, log into the iSCSI target:

iscsiadm -m node --targetname "$TARGET_NAME" --portal "$NAS_IP:3260" --login

Look for new devices:

fdisk -l | less

At this point fdisk should show you a new block device which is the iSCSI disk volume on the Synology box. In my case it was /dev/sda.

Set up the block device as an encrypted file system

Partition the device. I made one big /dev/sda1 partition, type 8e (Linux LVM):

gparted /dev/sda

Set up the partition as a LUKS-encrypted volume:

cryptsetup --verbose --verify-passphrase luksFormat /dev/sda1

You’ll be asked to type “YES” to confirm. Typing “y” or “Y” or “yes” will not work. You have to type “YES”.

Open the LUKS volume:

cryptsetup luksOpen /dev/sda1 backupiscsi

Create a physical volume from the LUKS volume:

pvcreate /dev/mapper/backupiscsi

Add that to a new volume group:

vgcreate ibackup /dev/mapper/backupiscsi

Create a logical volume within the volume group using all available space:

lvcreate -l +100%FREE -n backupvol /dev/ibackup

Put a file system on the logical volume:

mkfs.ext4 /dev/ibackup/backupvol

Add the logical volume to /etc/fstab to mount it on startup:

# TrueNAS iSCSI target
/dev/ibackup/backupvol /mnt/backup ext4 defaults,nofail,nobootwait 0 6

Get the UUID of the iSCSI drive:

ls -l /dev/disk/by-uuid | grep sda1

Add the UUID to /etc/crypttab to be automatically prompted for the decrypt passphrase when you boot up Ubuntu:

backupiscsi UUID=693568ca-9334-4c19-8b01-881f2247ae0d none luks

That’s pretty much it. The next time you boot you’ll be prompted for the decrypt passphrase before the drive will mount. If you type df -h you should see a new disk mounted on /mnt/backup.

If you found this interesting, you might want to check out my article Adding an external encrypted drive with LVM to Ubuntu Linux.

Hope you found this useful.